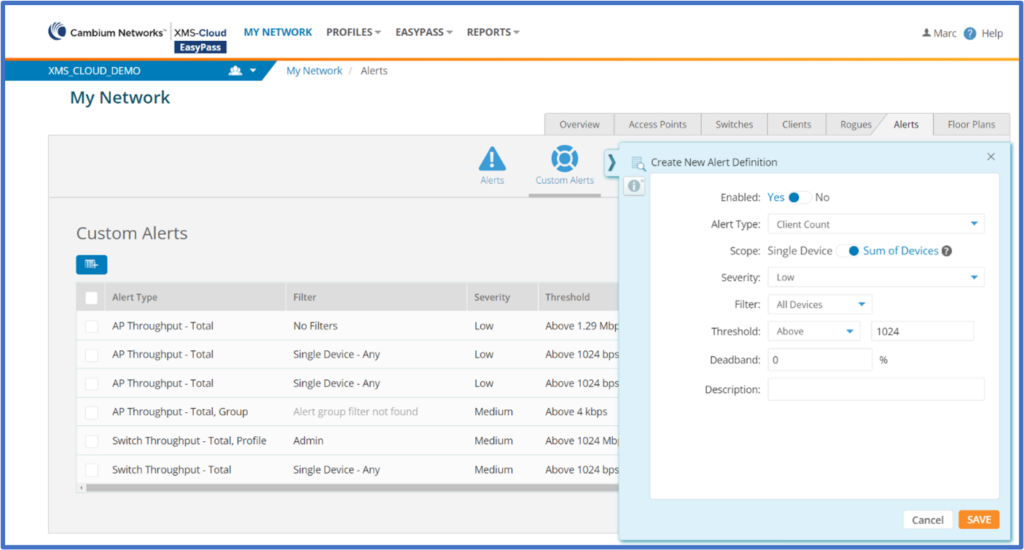
The November 2022 release of Xirrus Management System – Cloud (XMS-Cloud) is now available. This release includes support for assigning users to specific Microsoft Active Directory groups when logging in with the EasyPass Microsoft Azure portal, new custom alerts with configurable thresholds for client counts, the ability to add CLI commands to a snippet tool for cnMatrix switches, and two new Top Domains charts for CommandCenter.
Click the thumbnail below to view the video:

Easypass On-boarding portal with Azure authentication
When creating an EasyPass Onboarding portal, the administrator has the option to allow end users to self-onboard. This enables network clients to register on an open SSID to receive a User-Preshared Key which can be used to connect to a secure SSID. When authenticating using Microsoft Azure, the end user access will be placed in their assigned active directory group.
To create the EasyPass Onboarding portal using Microsoft Azure for authentication, go to EASYPASS > NEW PORTAL > Onboarding. Give the portal a name and click OK. On the General page, go to the Self-Onboarding section and move the slider bar to Yes. Click SELECT for the Registration SSID and select the SSID that clients will use when authenticating to the Microsoft Azure environment. The client will use their MS Active Directory credentials to login to this portal. Move the Azure SSID over to the Onboarding portal section of the window and click SELECT. Click SELECT for the Network SSID and select the SSID that clients will use when authenticating to your company network. Move the company SSID over to the Onboarding portal section of the window and click SELECT. Select Azure as the authentication type. A Microsoft admin will need to authenticate the Onboarding portal so that the portal can interact with with the Microsoft Azure environment. Click AUTHORIZE and login using your Microsoft administrator credentials. Next, enter the Azure Primary Domain and the domain that clients will connect to. In the Would you like to restrict access to specific groups section, move the slide bar to Yes. Select the Active Directory groups that will be associated with this SSID and click ADD. Click SAVE ALL.
Now when a client logs in to the Azure portal successfully, the system will send an automated email with a User Pre-Shared key that will be used to login to the company network. Once the client successfully logs into the network using the User Pre-shared key, they will be placed in the proper Active Directory group in XMS-Cloud.

Snippet tool available on Switches page in Profile, and Switch Template
When a feature is not available in XMS-Cloud, but resides in the OS, you are able to use the Snippet tool to add the CLI commands to the Profile or Template so that the features are enabled and configured on the device when the device is added to the Profile. XMS-Cloud provides the Snippet tool for cnMatrix switch configuration in both the Profiles > Switches page and in the Profiles > Templates > Switches page.
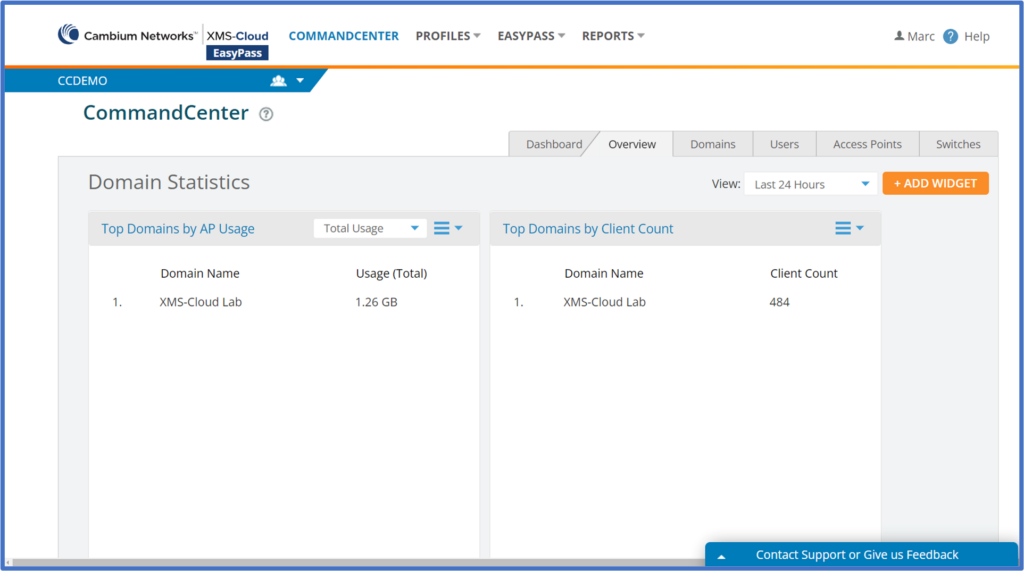
New charts on CommandCenter Overview page
MSPs using XMS-Cloud CommandCenter can easily display which of their managed accounts are generating the most traffic and which managed accounts have the highest number of client devices. XMS-Cloud CommandCenter includes two new charts designed to identify the Top Domains by AP Usage and Top Domains by Client Count. To access the two new charts, go to your CommandCenter account and to the Overview page. Click the ADD WIDGET button, select the two new charts, Top Domains by Client Count and Top Domains by AP Usage, and click the ADD button.
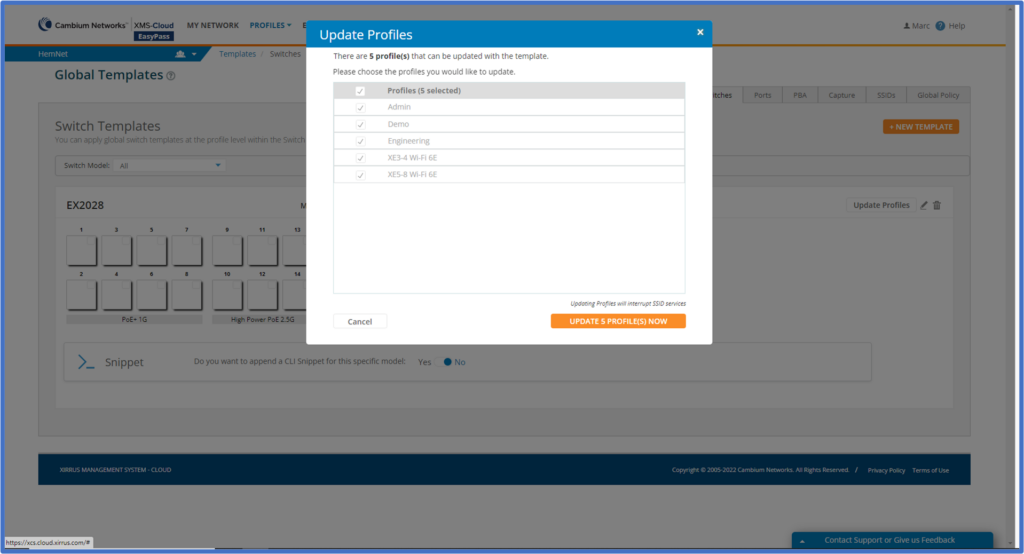
Push Switch Template to selected Profiles
When you make changes to existing Switch Templates, or create a new Switch Template, XMS-Cloud allows you to push the Templates in bulk, to multiple Profiles at the same time.
To push a Switch Template to multiple Profiles, go to PROFILES > Templates. Select the Template you want to push and click the Update Profiles button. Select the Profiles to be updated and click the UPDATE PROFILES NOW button.